软硬件环境
- OS X EI Capitan
- Xcode 7.0.1
简介
CocoaPods是iOS中最常用的第三方类库管理工具,类似于ubuntu linux里的apt-get,绝大多数有名的开源类库都支持CocoaPods。CocoaPods是用ruby语言实现的,所以要想使用,首先必须要有ruby环境。
配置CocoaPods
由于某些你也知道的原因,官方的镜像有时候会链接不上,首先我们用国内的taobao镜像来代替官方的。
gem sources --remove
gem sources -a
gem sources -l
gem sources -l命令是用来查看镜像的。配置完毕以后,执行如下命令
pod setup
安装成功后,CocoaPods环境就安装好了。pod命令很强大,详细的用法可以查看其帮助。
Usage:

    $ pod COMMAND

      CocoaPods, the Cocoa library package manager.

Commands:

    + cache         Manipulate the CocoaPods cache
    + deintegrate   Deintegrate CocoaPods from your project
    + env           Display pod environment
    + init          Generate a Podfile for the current directory
    + install       Install project dependencies according to versions from a
                    Podfile.lock
    + ipc           Inter-process communication
    + lib           Develop pods
    + list          List pods
    + outdated      Show outdated project dependencies
    + plugins       Show available CocoaPods plugins
    + repo          Manage spec-repositories
    + search        Search for pods
    + setup         Setup the CocoaPods environment
    + spec          Manage pod specs
    + trunk         Interact with the CocoaPods API (e.g. publishing new specs)
    + try           Try a Pod!
    + update        Update outdated project dependencies and create new Podfile.lock

Options:

    --silent        Show nothing
    --version       Show the version of the tool
    --verbose       Show more debugging information
    --no-ansi       Show output without ANSI codes
    --help          Show help banner of specified command
APP中如何使用?
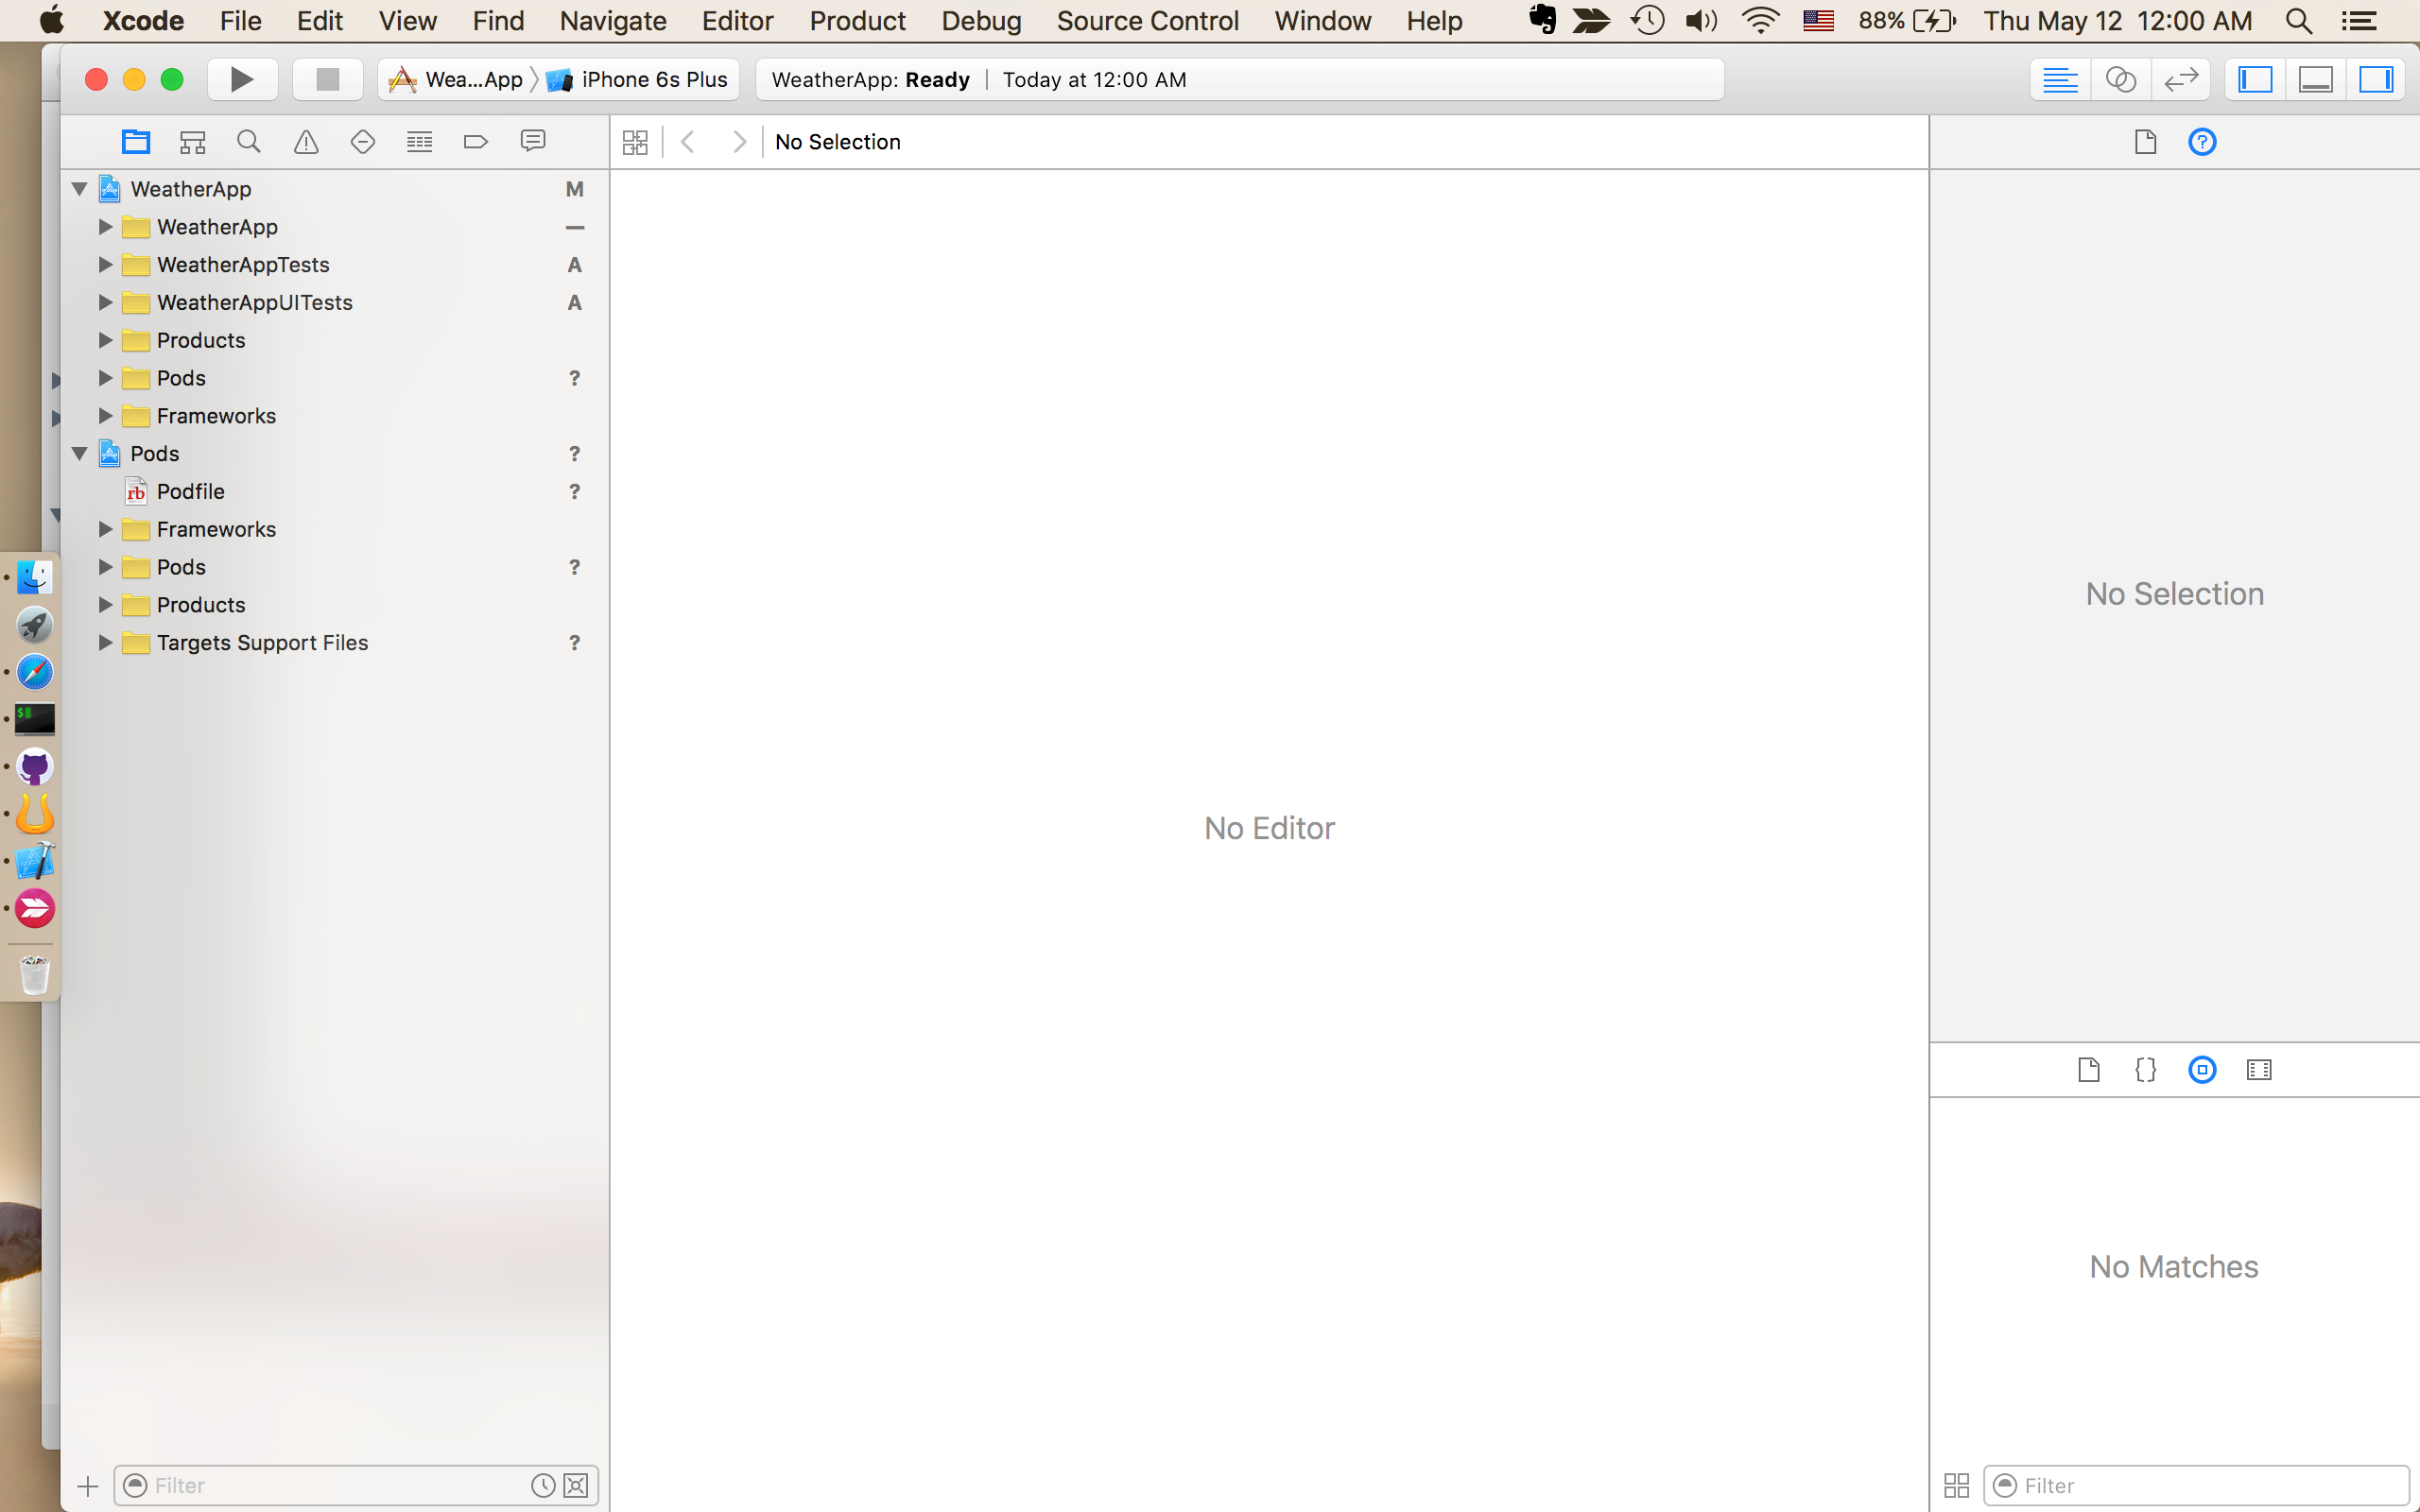
创建好Xcode工程WeatherApp后,在工程目录中新建个Podfile文件,以类库AFNetworking为例,添加语句
platform :ios, '9.0'
use_frameworks!

target 'WeatherApp' do
    pod 'AFNetworking'
end
platform指定平台及对应版本号,pod指定第三方类库,后面可以跟版本号,也可以不跟,默认为最新版本。
Podfile编辑完毕后,进行安装
pod install
执行完毕后会在工程目录下生成WeatherApp.xcworkspace文件及pod文件夹,关闭xcode,然后双击WeatherApp.xcworkspace文件再次打开工程,AFNetworking类库就可以在此工程中使用了。
参考文献
1、<>